Please exercise due care when changing the defined overlay network from the default setting of 172.16.0.0/16 to any other address range. While this setting should complete with very little detectable impact on a running BlastShield system, good planning helps prevent unexpected issues that can arise.
Network Ranges
While any network range will technically work for the BlastShield Overlay, BlastWave recommends that the selected range fall into one of the documented private range blocks as detailed in the IETF’s https://datatracker.ietf.org/doc/html/rfc1918.
|
Class |
Beginning |
Ending |
Addresses |
Networks |
Host Size |
|---|---|---|---|---|---|
|
A |
10.0.0.0 |
10.255.255.255 |
16,777,216 |
1 |
24 bits |
|
B |
172.16.0.0 |
172.31.255.255 |
1,048,576 |
16 |
20 bits |
|
C |
192.168.0.0 |
192.168.255.255 |
65,535 |
256 |
16 bits |
Please Note: BlastShield Overlay networks should utilize a depth of at least 16 bits. Therefore, unless specifically and exhaustively verified to not interfere with any existing networks, BlastWave recommends avoiding the 192.168.0.0 range for this purpose.
Firmware Updates
Before changing the BlastShield Overlay Network setting, please follow this firmware update procedure to achieve the best results.
-
Ideally, at time during the day where the Orchestrator sees the lowest user logon activity, update the Orchestrator Firmware:
-
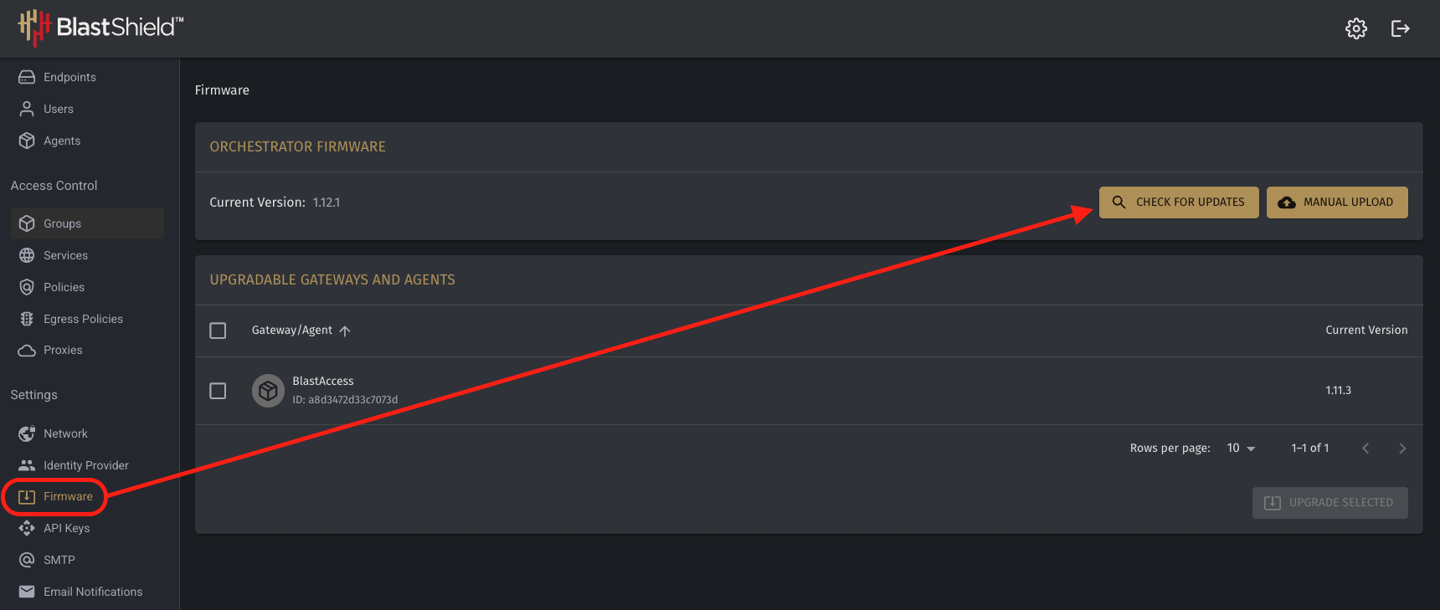
If your Orchestrator is in the cloud or is Internet-connected, perform a search for new firmware revisions from the Orchestrator UI, by clicking Firmware in the left-hand menu pane and the clicking Check for Updates. Once the new firmware (if any) is downloaded, click Update Firmware. The Orchestrator will begin its update process. If only one Orchestrator is configured, it will return in usually less than one minute. If your Orchestrator is teamed in a High-Availability Team, the process will take 5 to 10 minutes to complete (wait until all locks are removed from the Orchestrator team before continuing).
-
If your Orchestrator is on-premise AND disconnected from the Internet, download the current firmware first (contact support@blastwave.com for any questions). Use a USB drive or some other means to upload the firmware manually. Once uplo
aded, trigger the update and wait until the process completes.
-
-
Update any running Agents to the latest firmware version.
-
Active Gateways:
-
High Availability Pair: Update the passive side (offline) side of all HA Gateway Pairs. Once these gateways return to an online status at the new firmware revision, promote them to active status. Then, trigger the update of the remain gateway in the pair.
-
Single Gateways: Update each gateway or grouping of gateways as downtime or traffic permits. A single gateway should reboot in less than one minute. Until the reboot completes, all endpoint devices configured behind that gateway will not be able to communicate. Remember: If the gateway is deployed with microsegmentation, during the reboot these endpoints will not be able to communicate at all!
-
-
Passive Gateways: You may update passive gateways to the current version at any time of your choosing. During the update process, endpoint devices configured on that gateway will not be accessible via secure remote access methods.
-
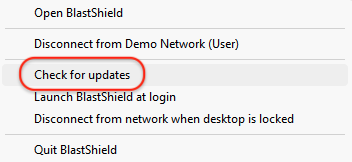
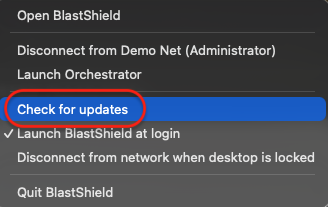
Trigger any remaining clients to update (if they have not already). Right-click on the client running in the system tray or menu bar, and select “Check for updates.”
DNS Setup (Optional)
While not required, BlastWave highly recommends the implementation of DNS within the BlastShield network. This will greatly aid in translating between the underlay and overlay IP addresses, which will become especially important as the overlay address schema changes.
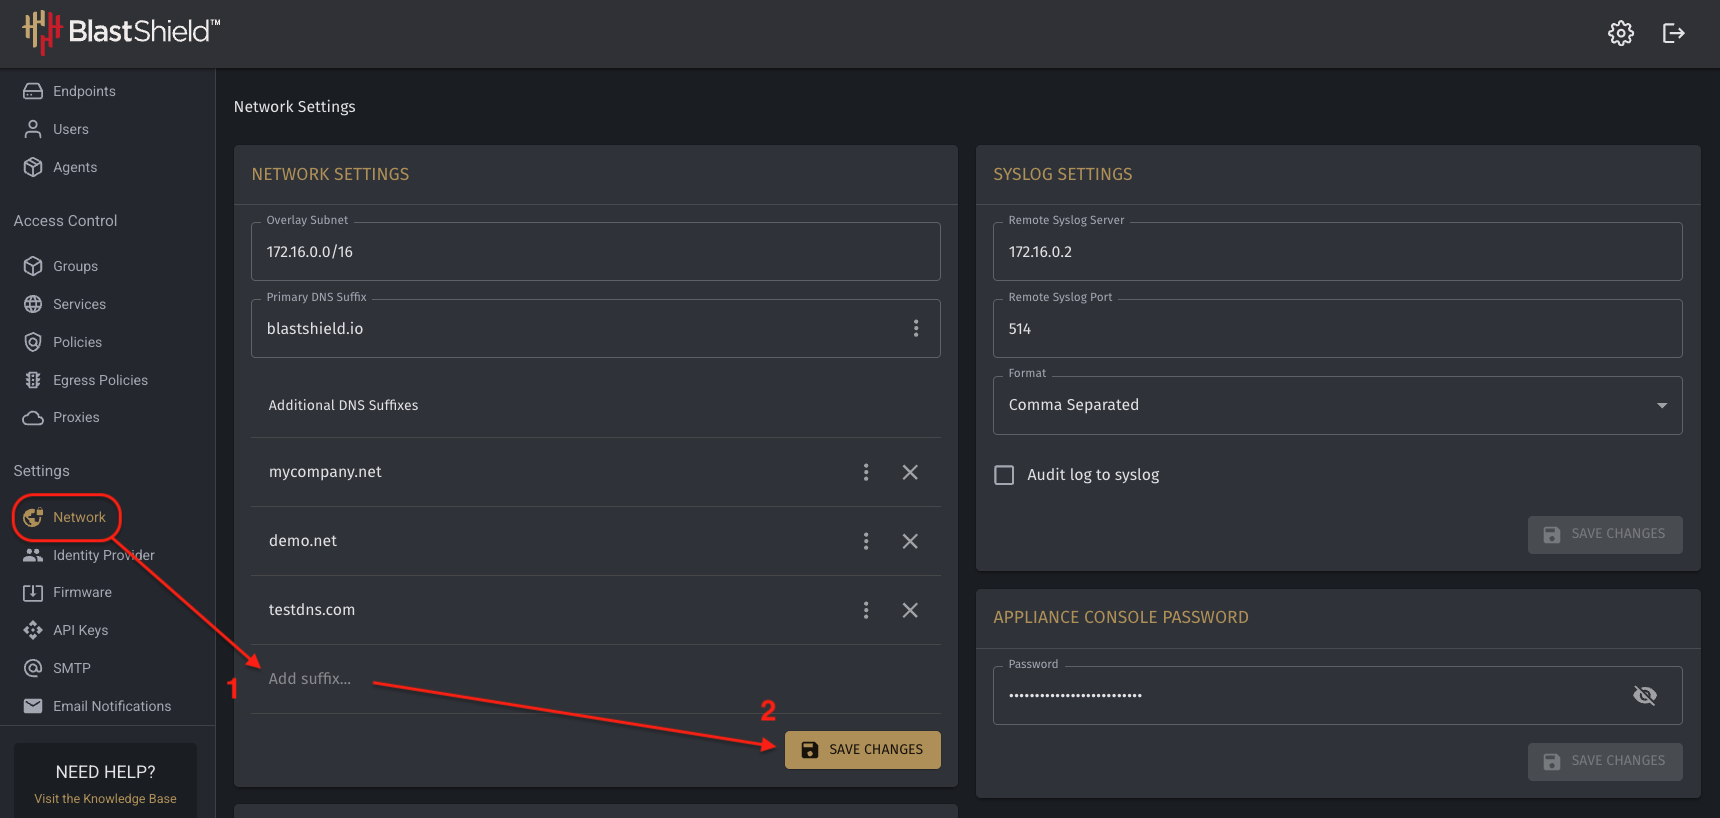
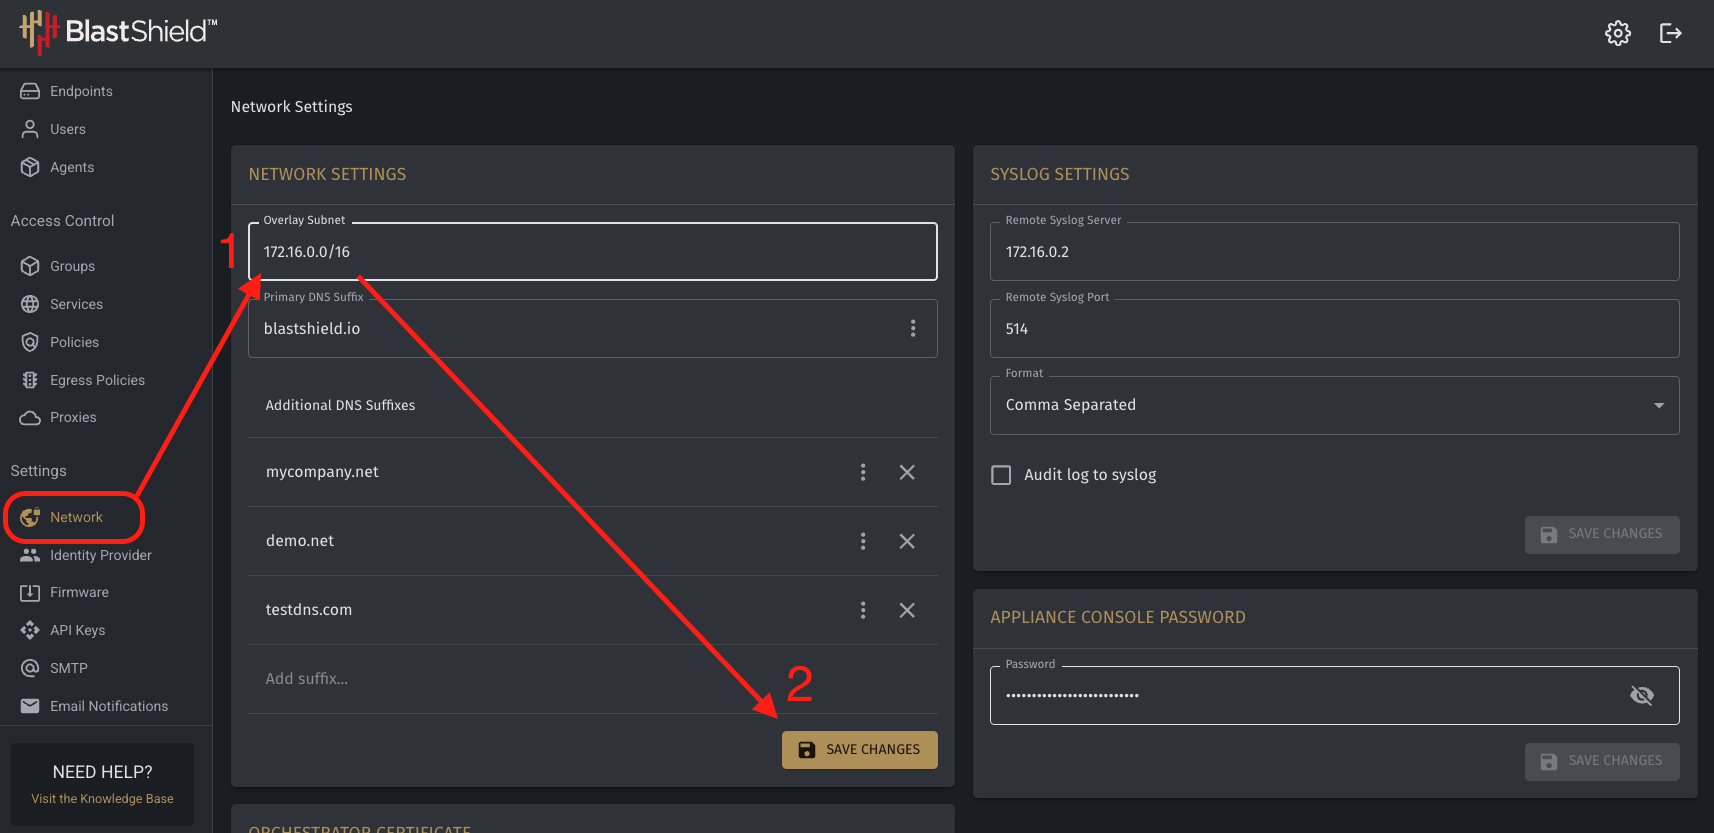
To configure one or more FQDN records, click Network and add the DNS suffixes as needed. Remember to click “Save Changes.”
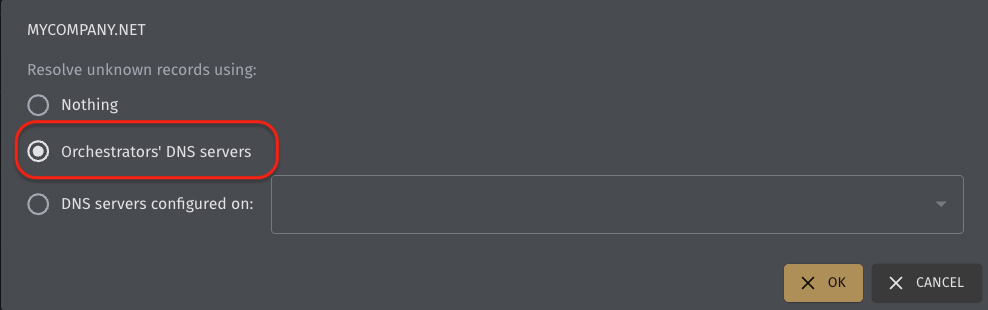
Once the DNS name exists, in most cases, the Orchestrator must be configured to resolve the DNS suffix internally. Click on the three stacked dots beside the FQDN, select that the Orchestrator’s DNS servers should be used to resolve unknown records.
Once the FQDN and resolution has been set, configure each Endpoint with a DNS hostname. This can also be done during import of new Endpoints by uploaded an CSV file. Save Changes to accept the DNS name.
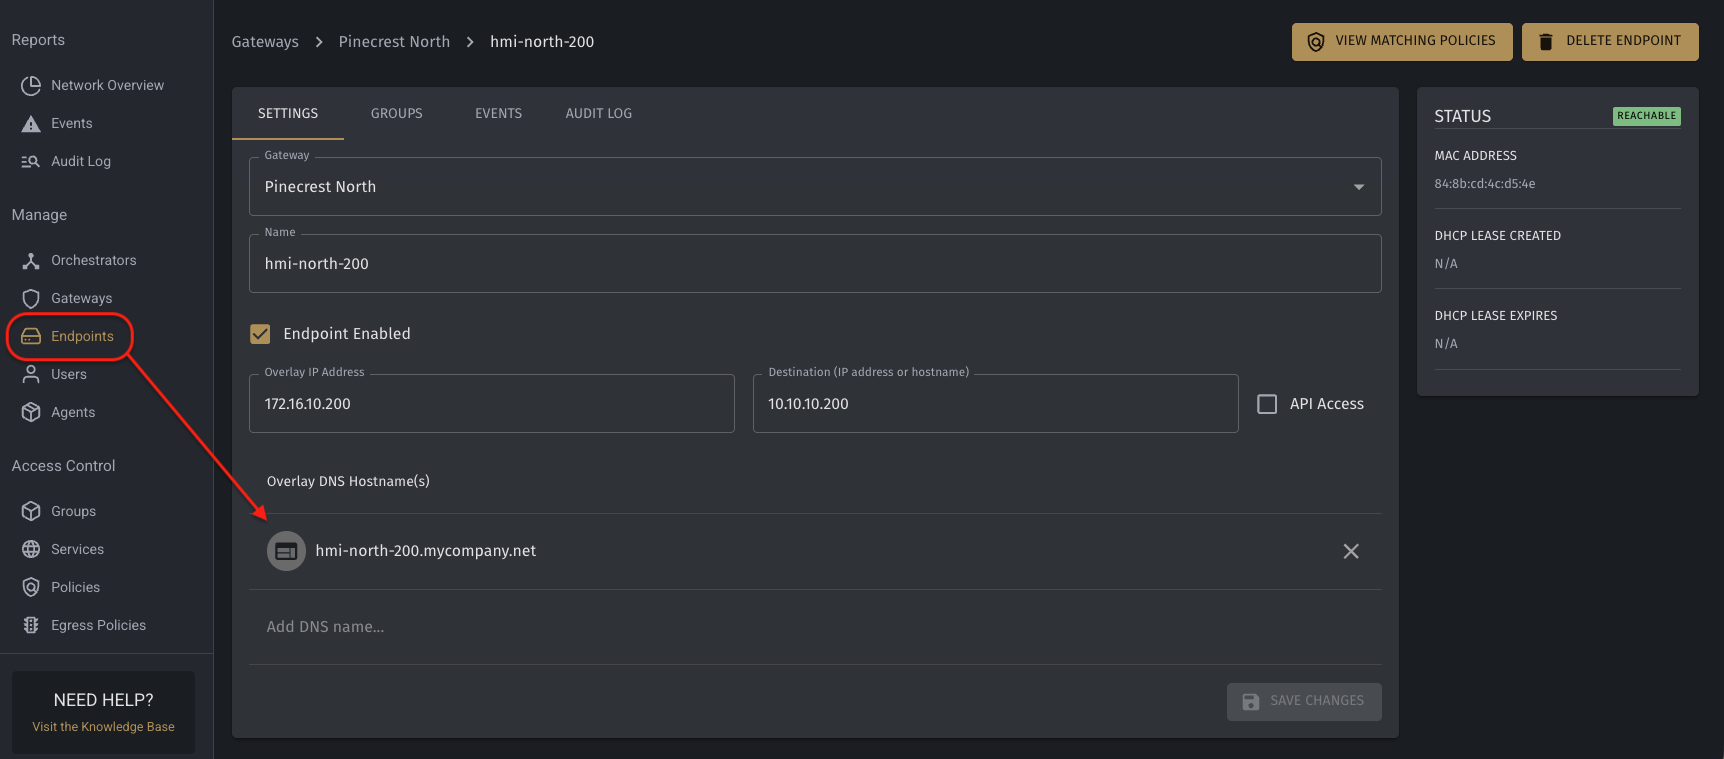
Test DNS resolution by connecting with a BlastShield Client and pinging or performing an NSLOOKUP against a configured dns hostname, such as hmi-north-200.mycompany.net in the picture above.
Modify Overlay
After completing all preparatory steps, make the change to the Overlay Network on the Orchestrator under the Network menu. Change to the new Subnet. Make certain to include the prefix! Then click Save Changes.
All IP addresses on the overlay will update to sequentially assigned addresses within the new subnet. Any custom IP addresses used on Endpoints and Users will change. If a user cannot no longer log in after the overlay subnet changes, while unlikely, it could be that their user account has an address still assigned from the old subnet.
Post Change
As all the subnet addresses have changed, all SCADA settings, shortcuts, RDP links, and other types of static files must also be updated to the new addresses, if DNS is not used. Even if a fully-qualified domain name (FQDN) has been configured, some SCADA and OT systems cannot use text names and cannot take advantage of it. Verify that communications within the OT network continue as expected in production.
Troubleshooting
Generally all IP addresses, including users, should update. However, as with all technology, issues may arise. First, give the system a full ten minutes to settle, especially when the system involves an Orchestrator Team. Other good practices before contacting support:
-
Logout of Client, Flush DNS Cache, and Reconnect
-
Empty Browser Cache for Orchestrator Admins
If, for some reason, users can authenticate but admins still cannot reconnect to the WebUI, contact BlastWave Support. In this situation, a quick reboot of the Orchestrator from the Engineering Access Interface removes conflicting records.