Azure AD Configuration
BlastShield™ is SCIM 2.0 enabled and supports integration with identity providers such as Okta, Azure AD and One Identity. SCIM support allows user accounts to be automatically created in BlastShield™ when new user accounts are assigned to the SCIM application in the IdP. User account status and their information are automatically updated in BlastShield™ based on updates in the IdP. BlastShield supports OIDC (OpenID Connect) to authenticate the SSO of the IdP for the user registration with the Orchestrator. Once registered, users will authenticate via MFA with the BlastShield™ Mobile Authenticator app and the BlastShield™ Desktop Client.
Your Orchestrator must have an SSO portal hostname configured for your network. Please contact support@blastwave.com to get one configured.
You must have administrative read/write access to the BlastShield™ Orchestrator and to the Azure AD configuration portal.
Set up OpenID Authentication
Configure the SCIM Provisioning
User registration
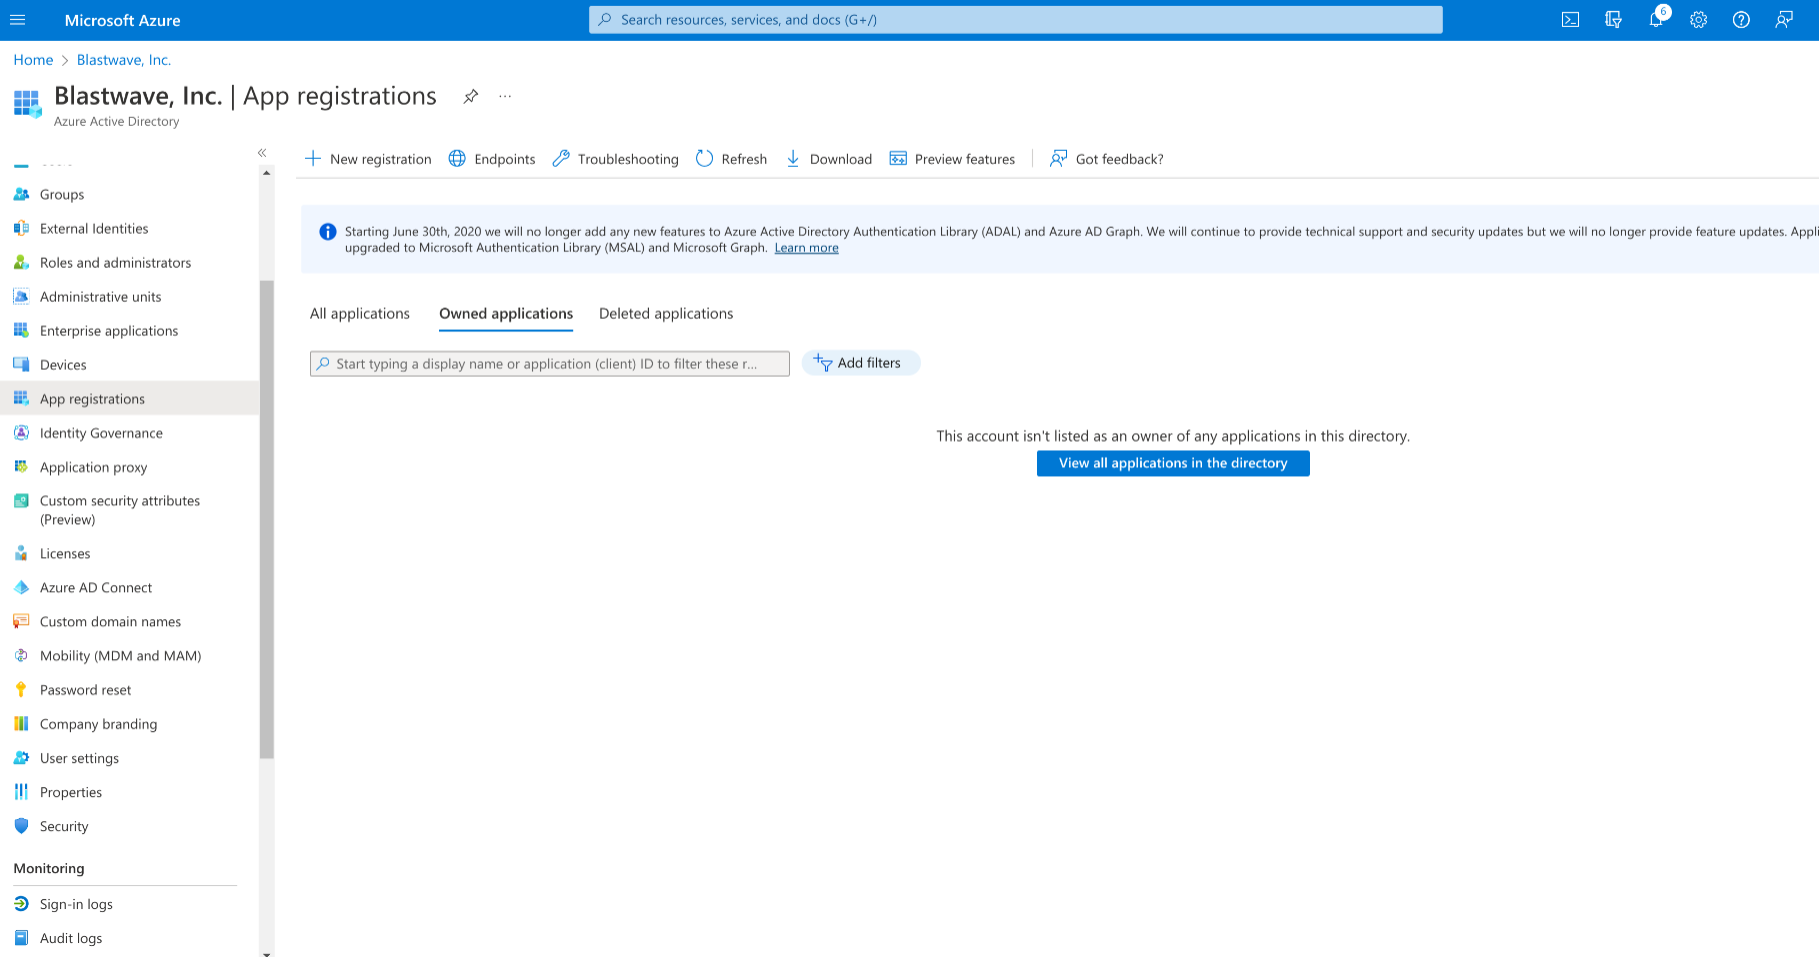
In the Azure Portal, type in “App registrations” in the top search bar and select the “App registrations” service.
Open the BlastShield orchestrator in a new browser tab and go to the “Identity Provider” settings page. Copy the Redirect URI from the OpenID section to the clipboard.
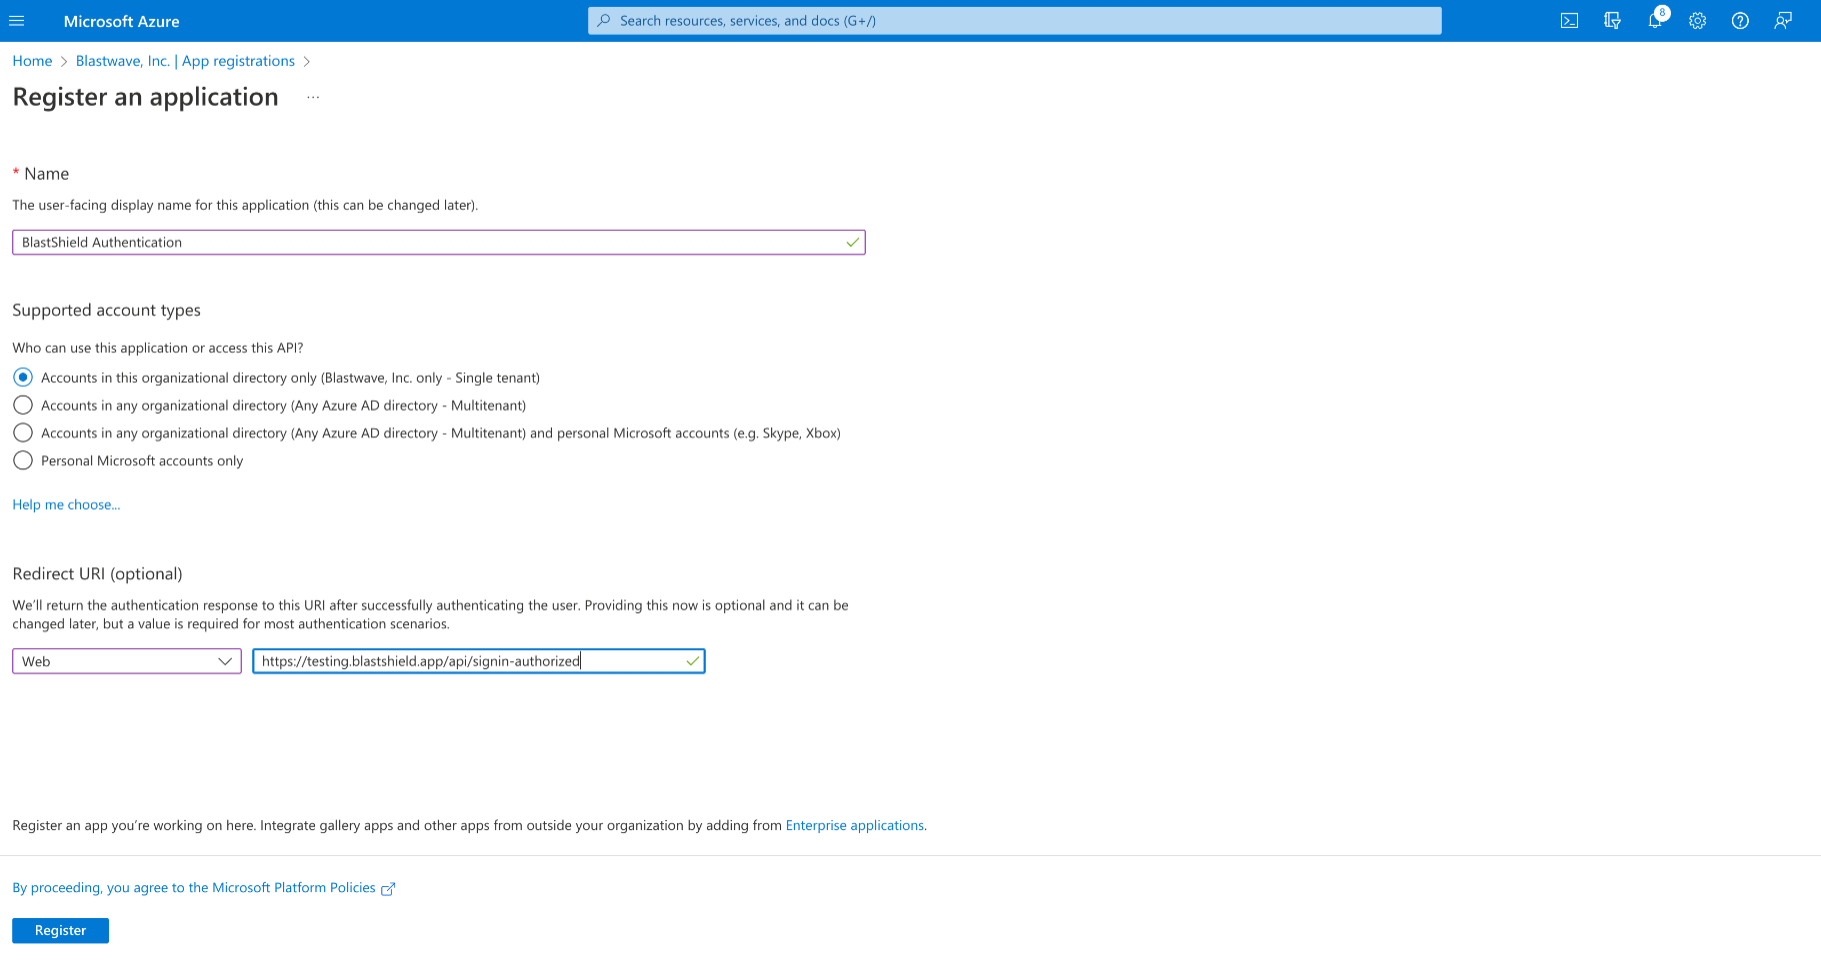
Go back to the Azure Portal tab, click on "New registration" and enter “BlastShield Authentication” as the name.
Under the Redirect URI section select “Web” from the dropdown menu and paste the redirect URI you copied from the BlastShield Orchestrator.
Click on “Endpoints” in the action bar and copy the “OpenID Connect metadata document” URL into the clipboard.
Paste the URL into the BlastShield Orchestrator as the “Domain”. Remove the extra “
https://” from the beginning of the URL and remove "/.well-known/openid-configuration" from the end.Under the “Essentials” section copy the “Application (client) ID” value and paste it into the “Client ID” field in the BlastShield Orchestrator tab.
Click the “Add a certificate or secret” link next to “Client credentials”.
Select “New client secret”, then click on Add in the newly opened right hand popup.
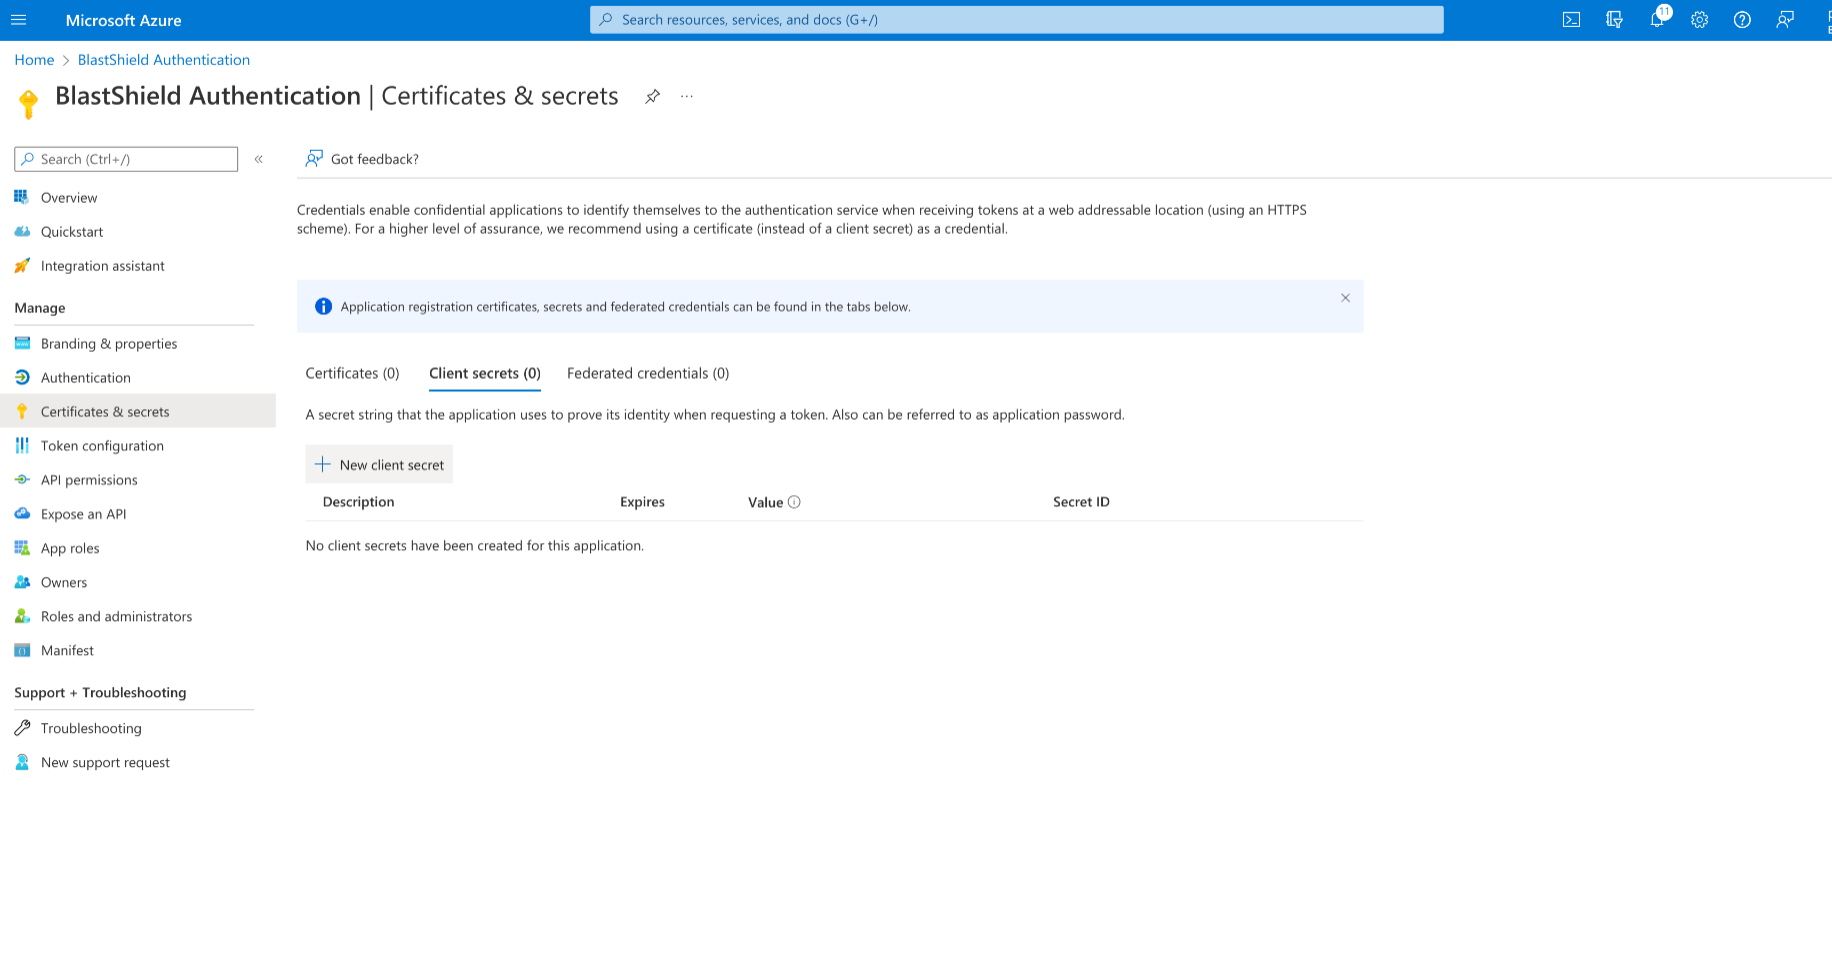
Copy the client secret value to the clipboard and paste it into the BlastShield Orchestrator as the Client Secret.
From the left-hand menu select “Expose an API”, click on “Add a scope” and enter “
api://BlastShield” as the “Application ID URI”. Select “Save and Continue”As the “Scope Name” enter “Register”.
Select “Admins and users” for “Who can consent?”.
Enter “BlastShield Authenticator Registration” for “Admin consent display name”, “Admin consent description”, “User consent display name” and “User consent description”.
Click on “Add scope”.
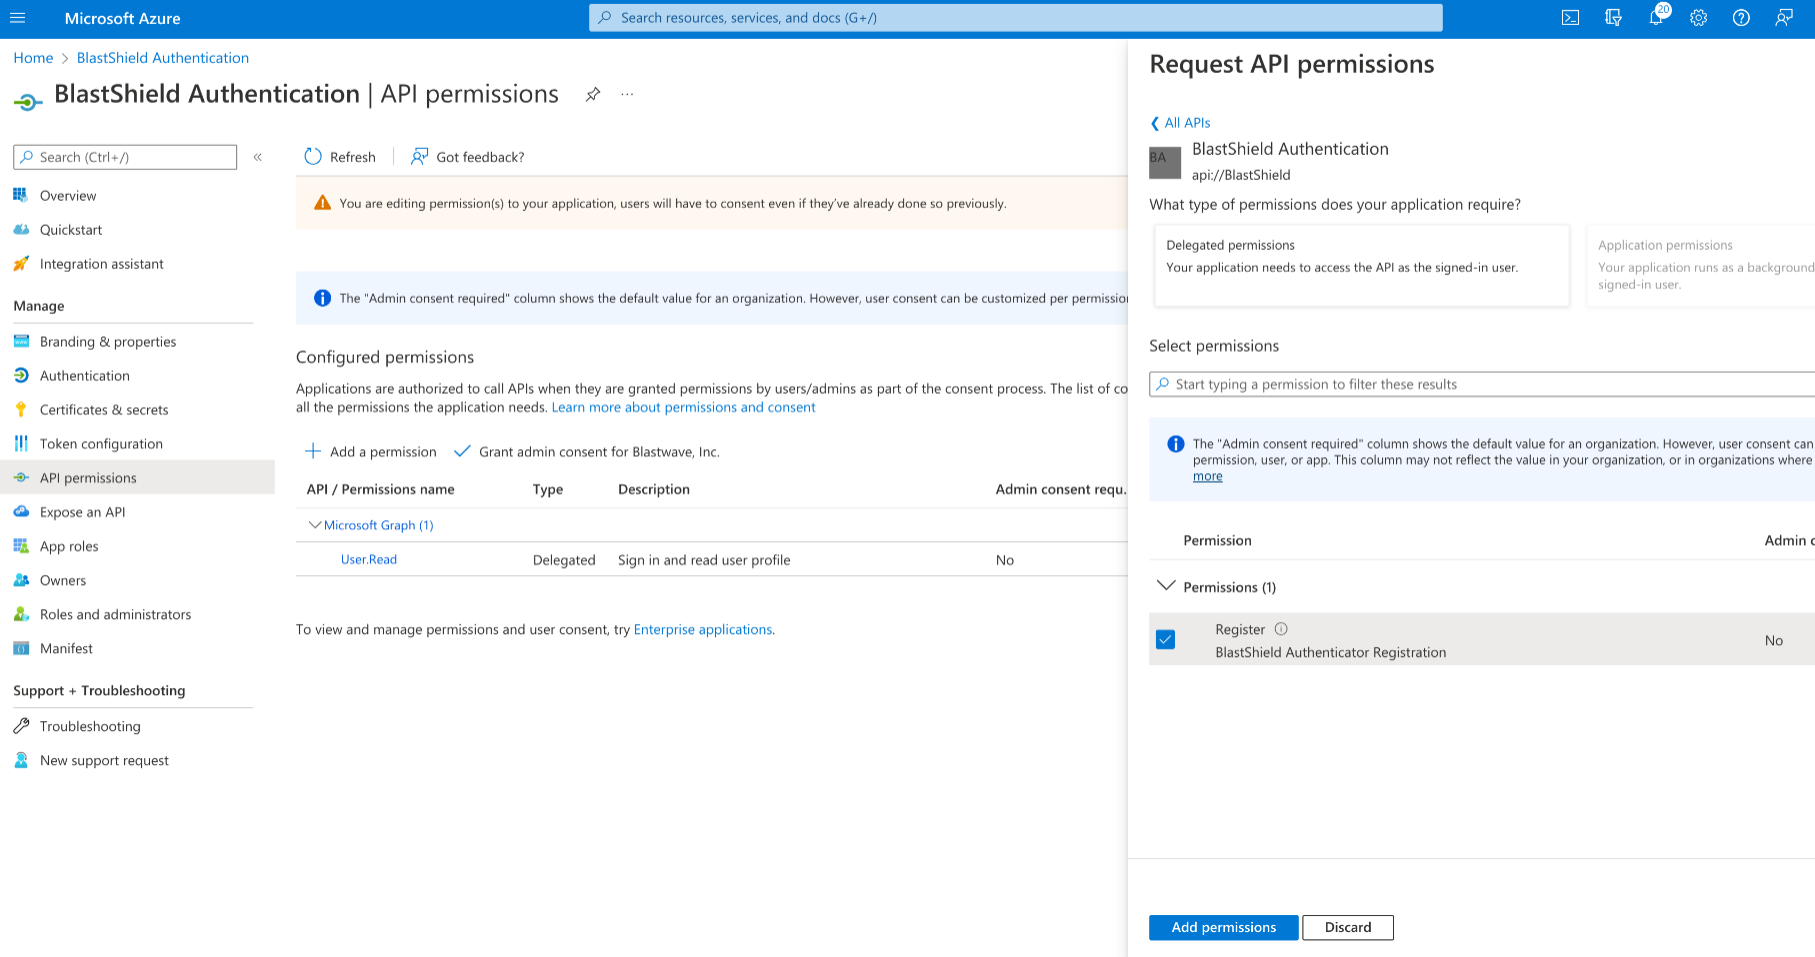
From the left-hand menu select “API permissions” and click on “Add a permission”. Select “My APIs” and click on “BlastShield Authentication”. Check the “Register” permissions checkbox and click on “Add permissions”.
In the BlastShield Orchestrator, enter “
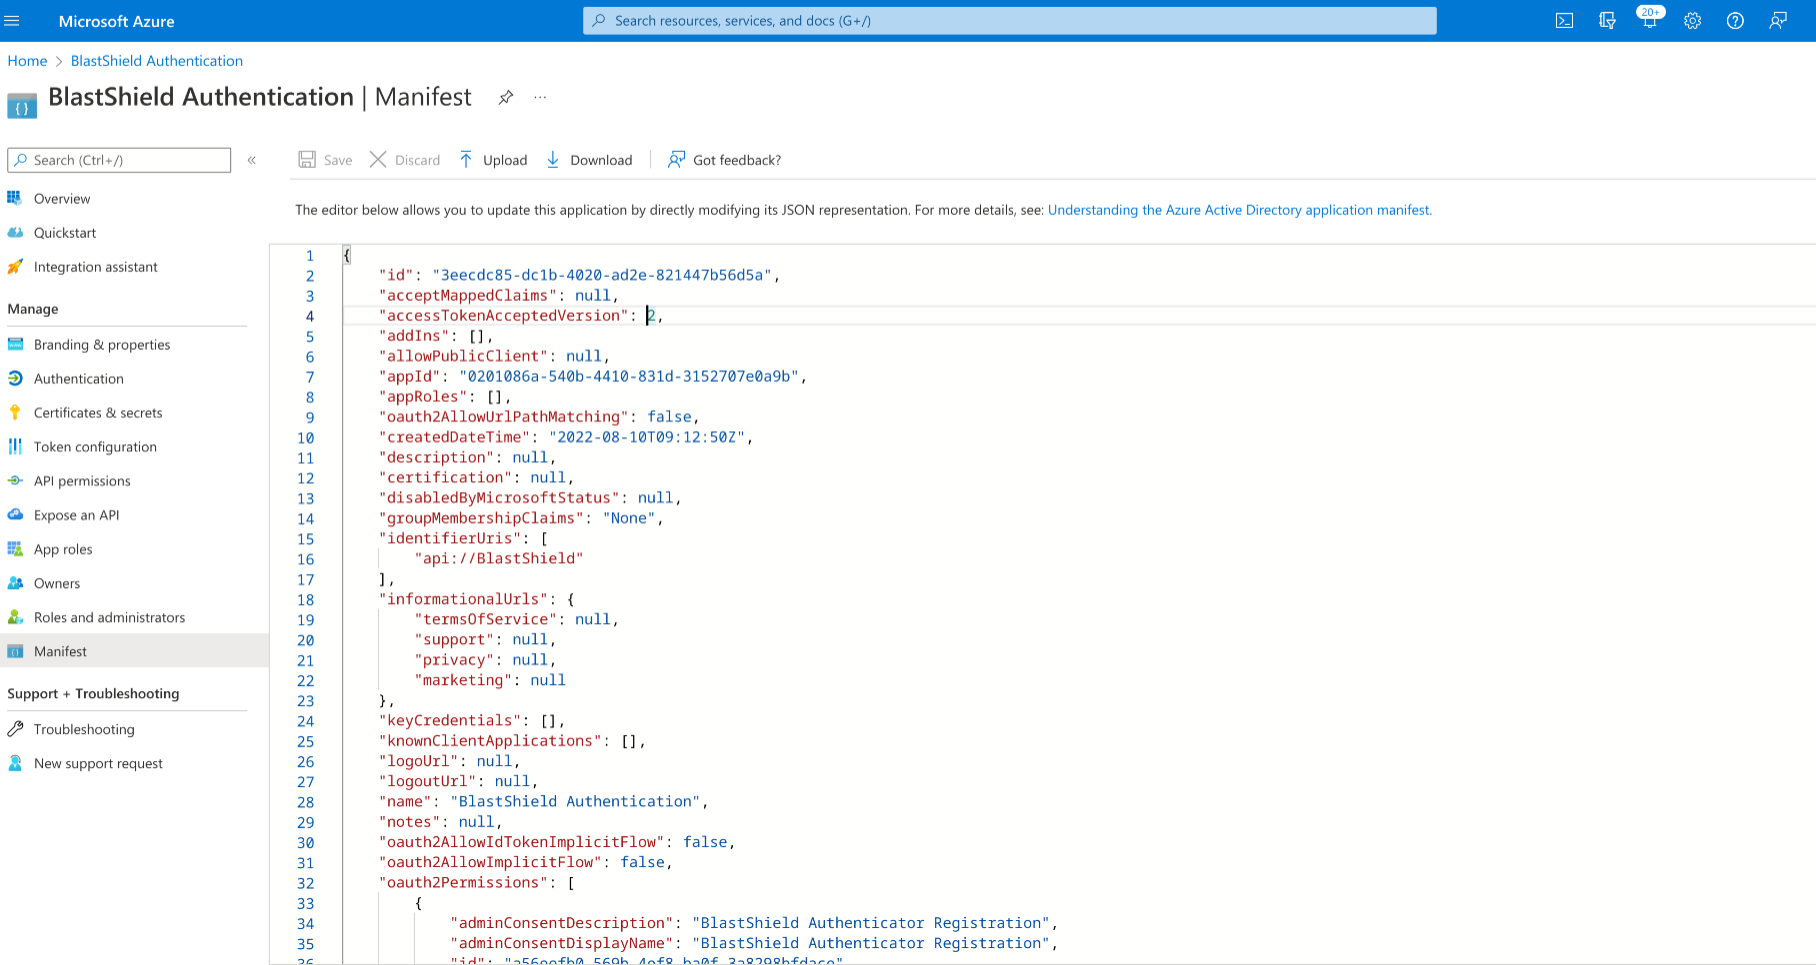
api://BlastShield/Register” as a “Custom Scope”.In the left-hand navigation select “Manifest” and in the JSON, set “accessTokenAcceptedVersion” to 2 and click on “Save”.
Type “Enterprise applications” in the top search bar and select the “Enterprise applications” service.
Select “BlastShield Authentication” and click on the “Users and groups” link in the navigation menu. Assign the application to the appropriate set of users and groups.
In the Azure Portal, type “Enterprise applications” in the top search bar and select the “Enterprise applications” service.
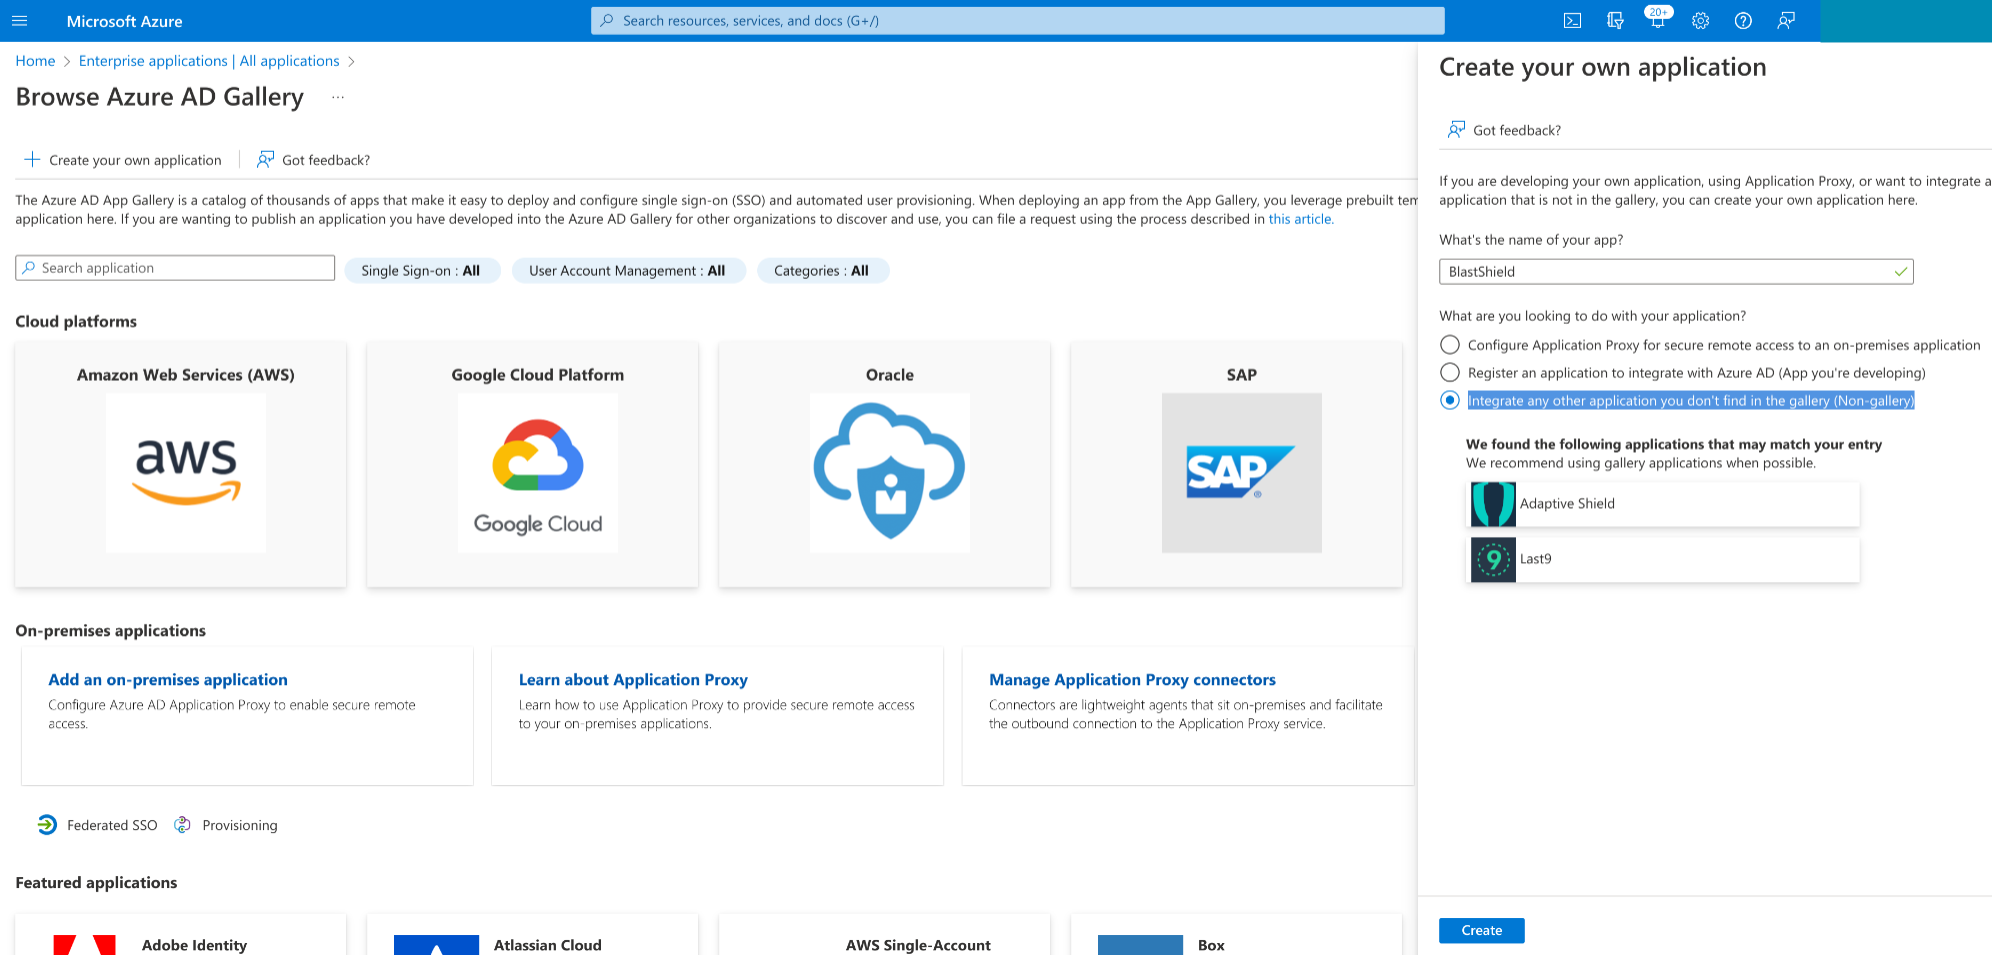
Click on “New application” and then select “Create your own application”.
Enter “BlastShield” as the name of your app and select “Integrate any other application you don't find in the gallery (Non-gallery)” and click “Create”.
Select “Users and groups” in the left-hand menu and assign the appropriate set of users and groups. The same set of users that was assigned to the “BlastShield Authentication” application should be used.
Select “Provisioning” in the left-hand menu and click on “Get Started”. Select “Automatic” as the “Provisioning Mode”.
From the BlastShield™ Orchestrator copy the “SCIM Endpoint” URL and paste it into the “Tenant URL” field in Azure.
In the BlastShield™ Orchestrator click on “Generate Token” next to the SCIM Endpoint URL and copy the token to the clipboard. Paste the token into the Azure “Secret Token” field.
Click “Save Changes” in the BlastShield™ Orchestrator and then on “Test Connection” in Azure to make sure the connection is working.
Select “Save”.
Click on “BlastShield|Provisioning” in the top hand menu and select “Start Provisioning”.
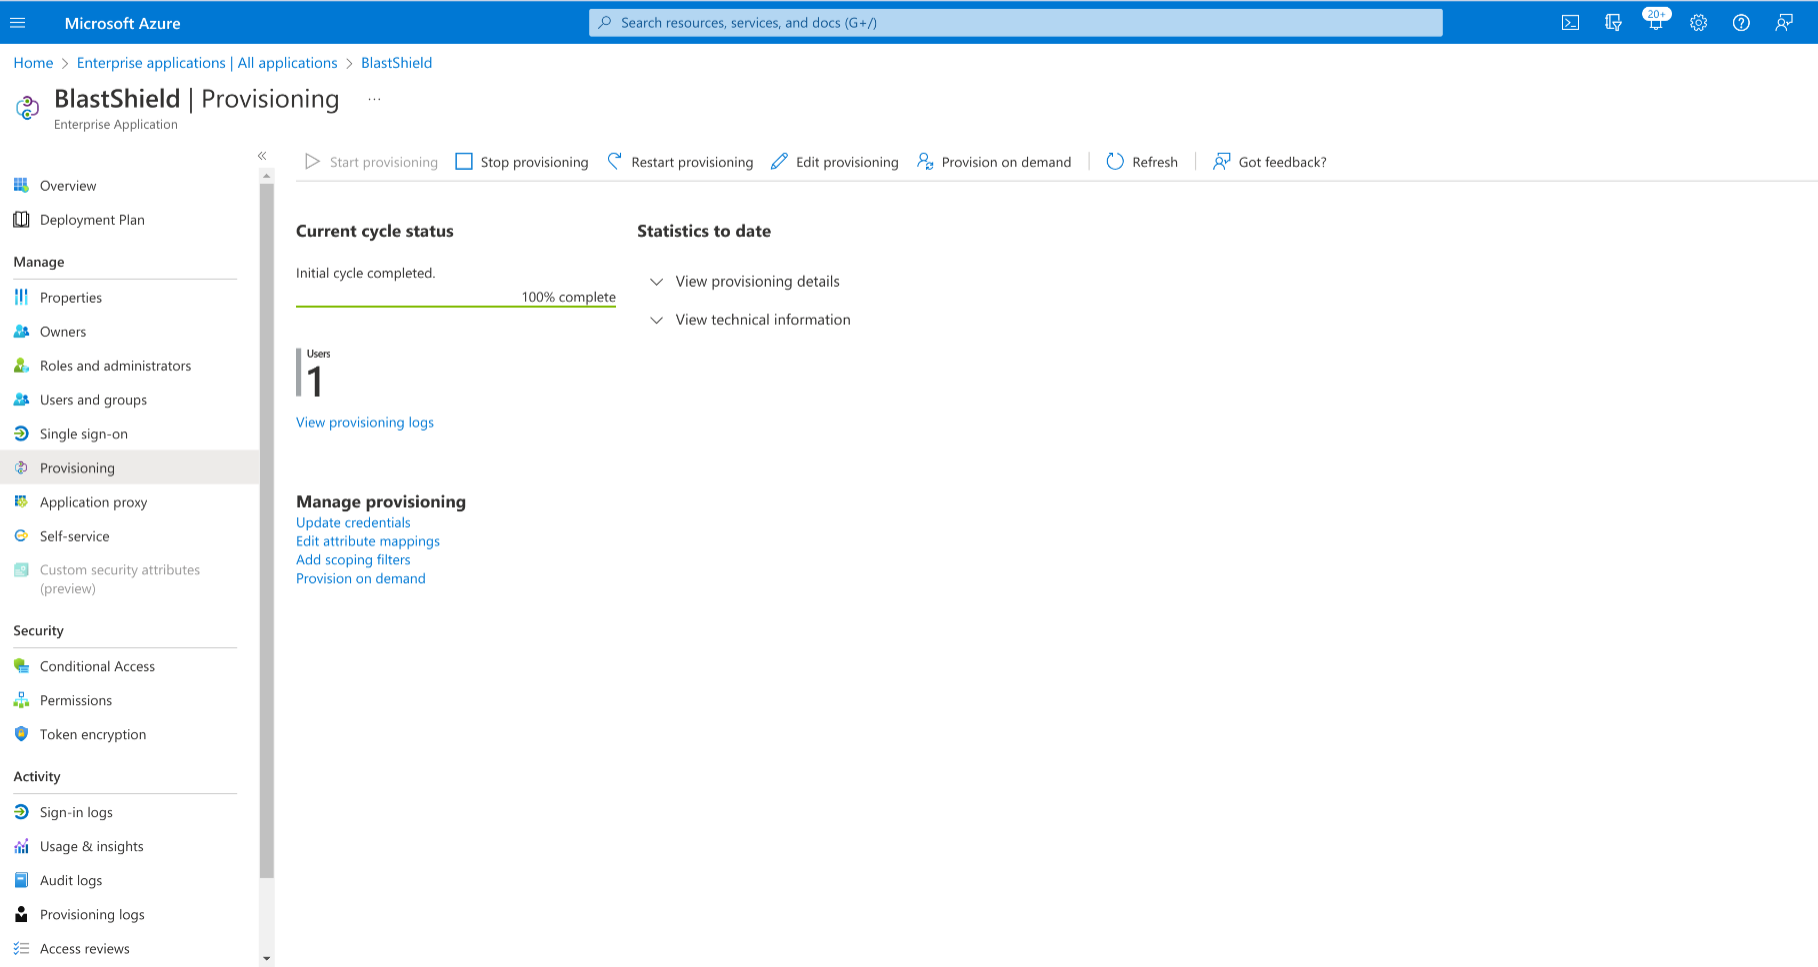
You can optionally select “Provision on demand” and select a user or group for quicker provisioning to test the setup.
The BlastShield User Registration portal should now be available at the URL displayed in the BlastShield™ Orchestrator as the “Sign-in URL”.
Note
When this configuration is completed, users and groups which are assigned to the BlastShield™ application in Azure will be automatically provisioned into the BlastShield™ Orchestrator, and will be available to use in BlastShield™ policies. It is not possible to modify the provisioned groups from the Orchestrator, but you can add a provisioned user to Blastshield™ created groups.
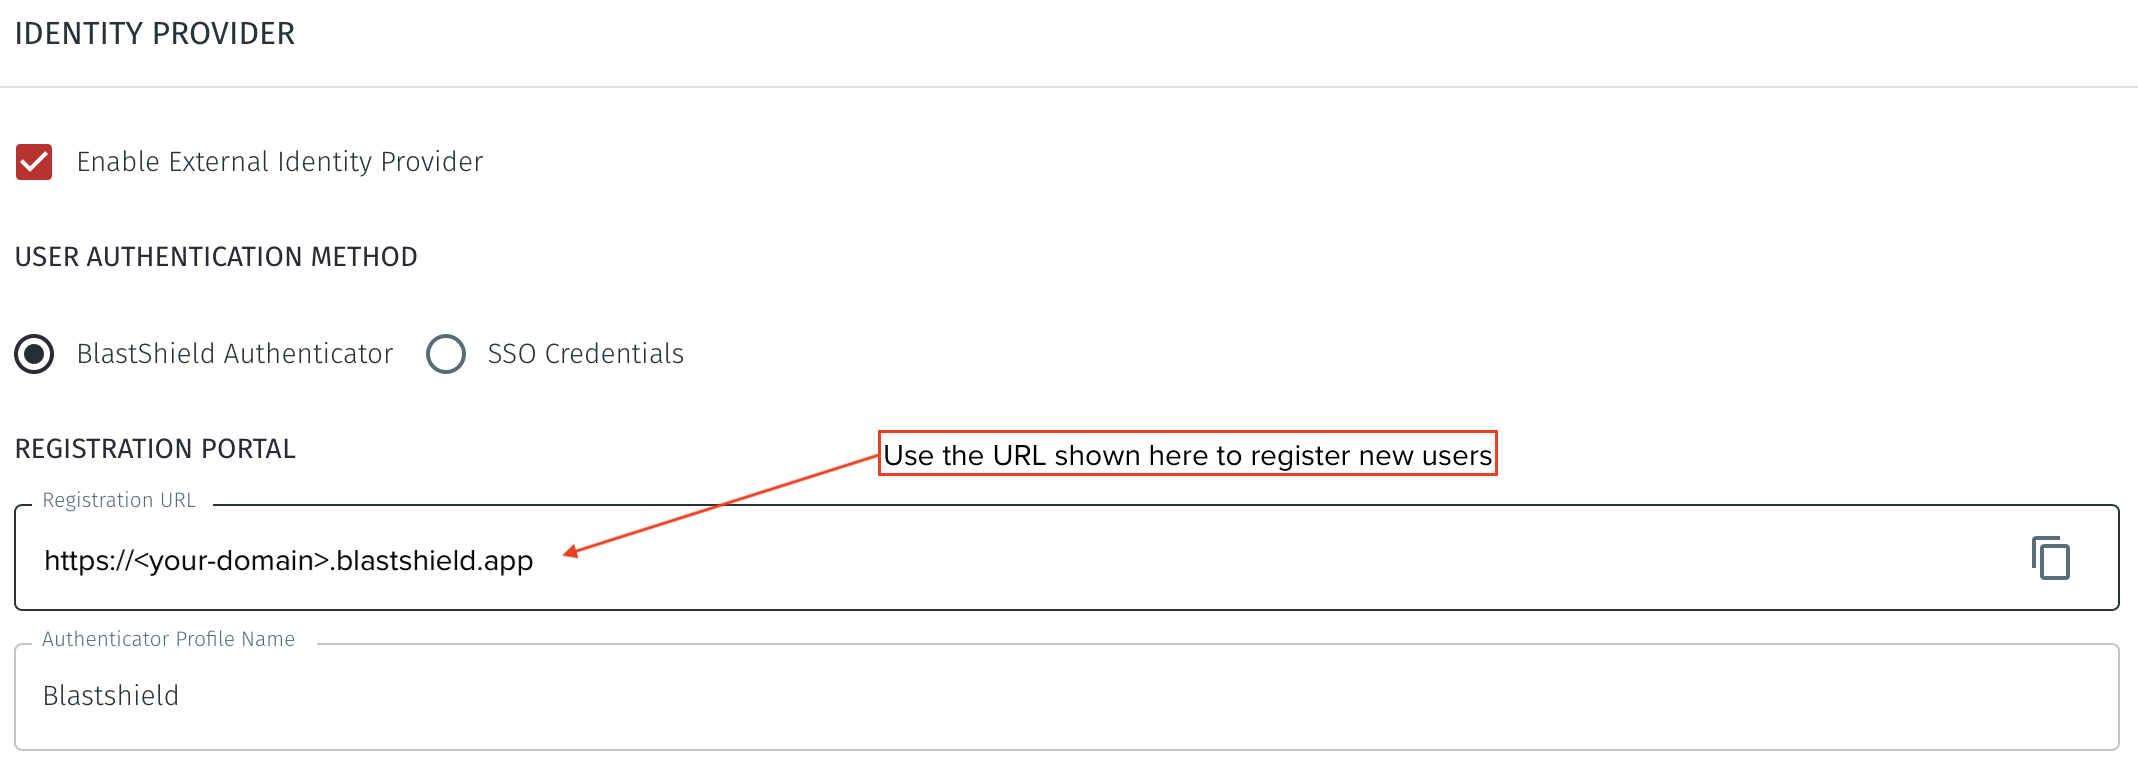
New users provisioned by the Identity Provider are registered via the the BlastShield™ registration SSO portal. The BlastShield™ registration SSO URL is unique to your deployment and is specified in the Identity Provider >> SSO Portal >> Sign-in URL attribute on the configuration page in the Orchestrator as shown in the following figure:
 |
Use the following process to register each user.
The new user should open the BlastShield™ registration SSO URL https://<your-domain>.blastshield.app in their browser.
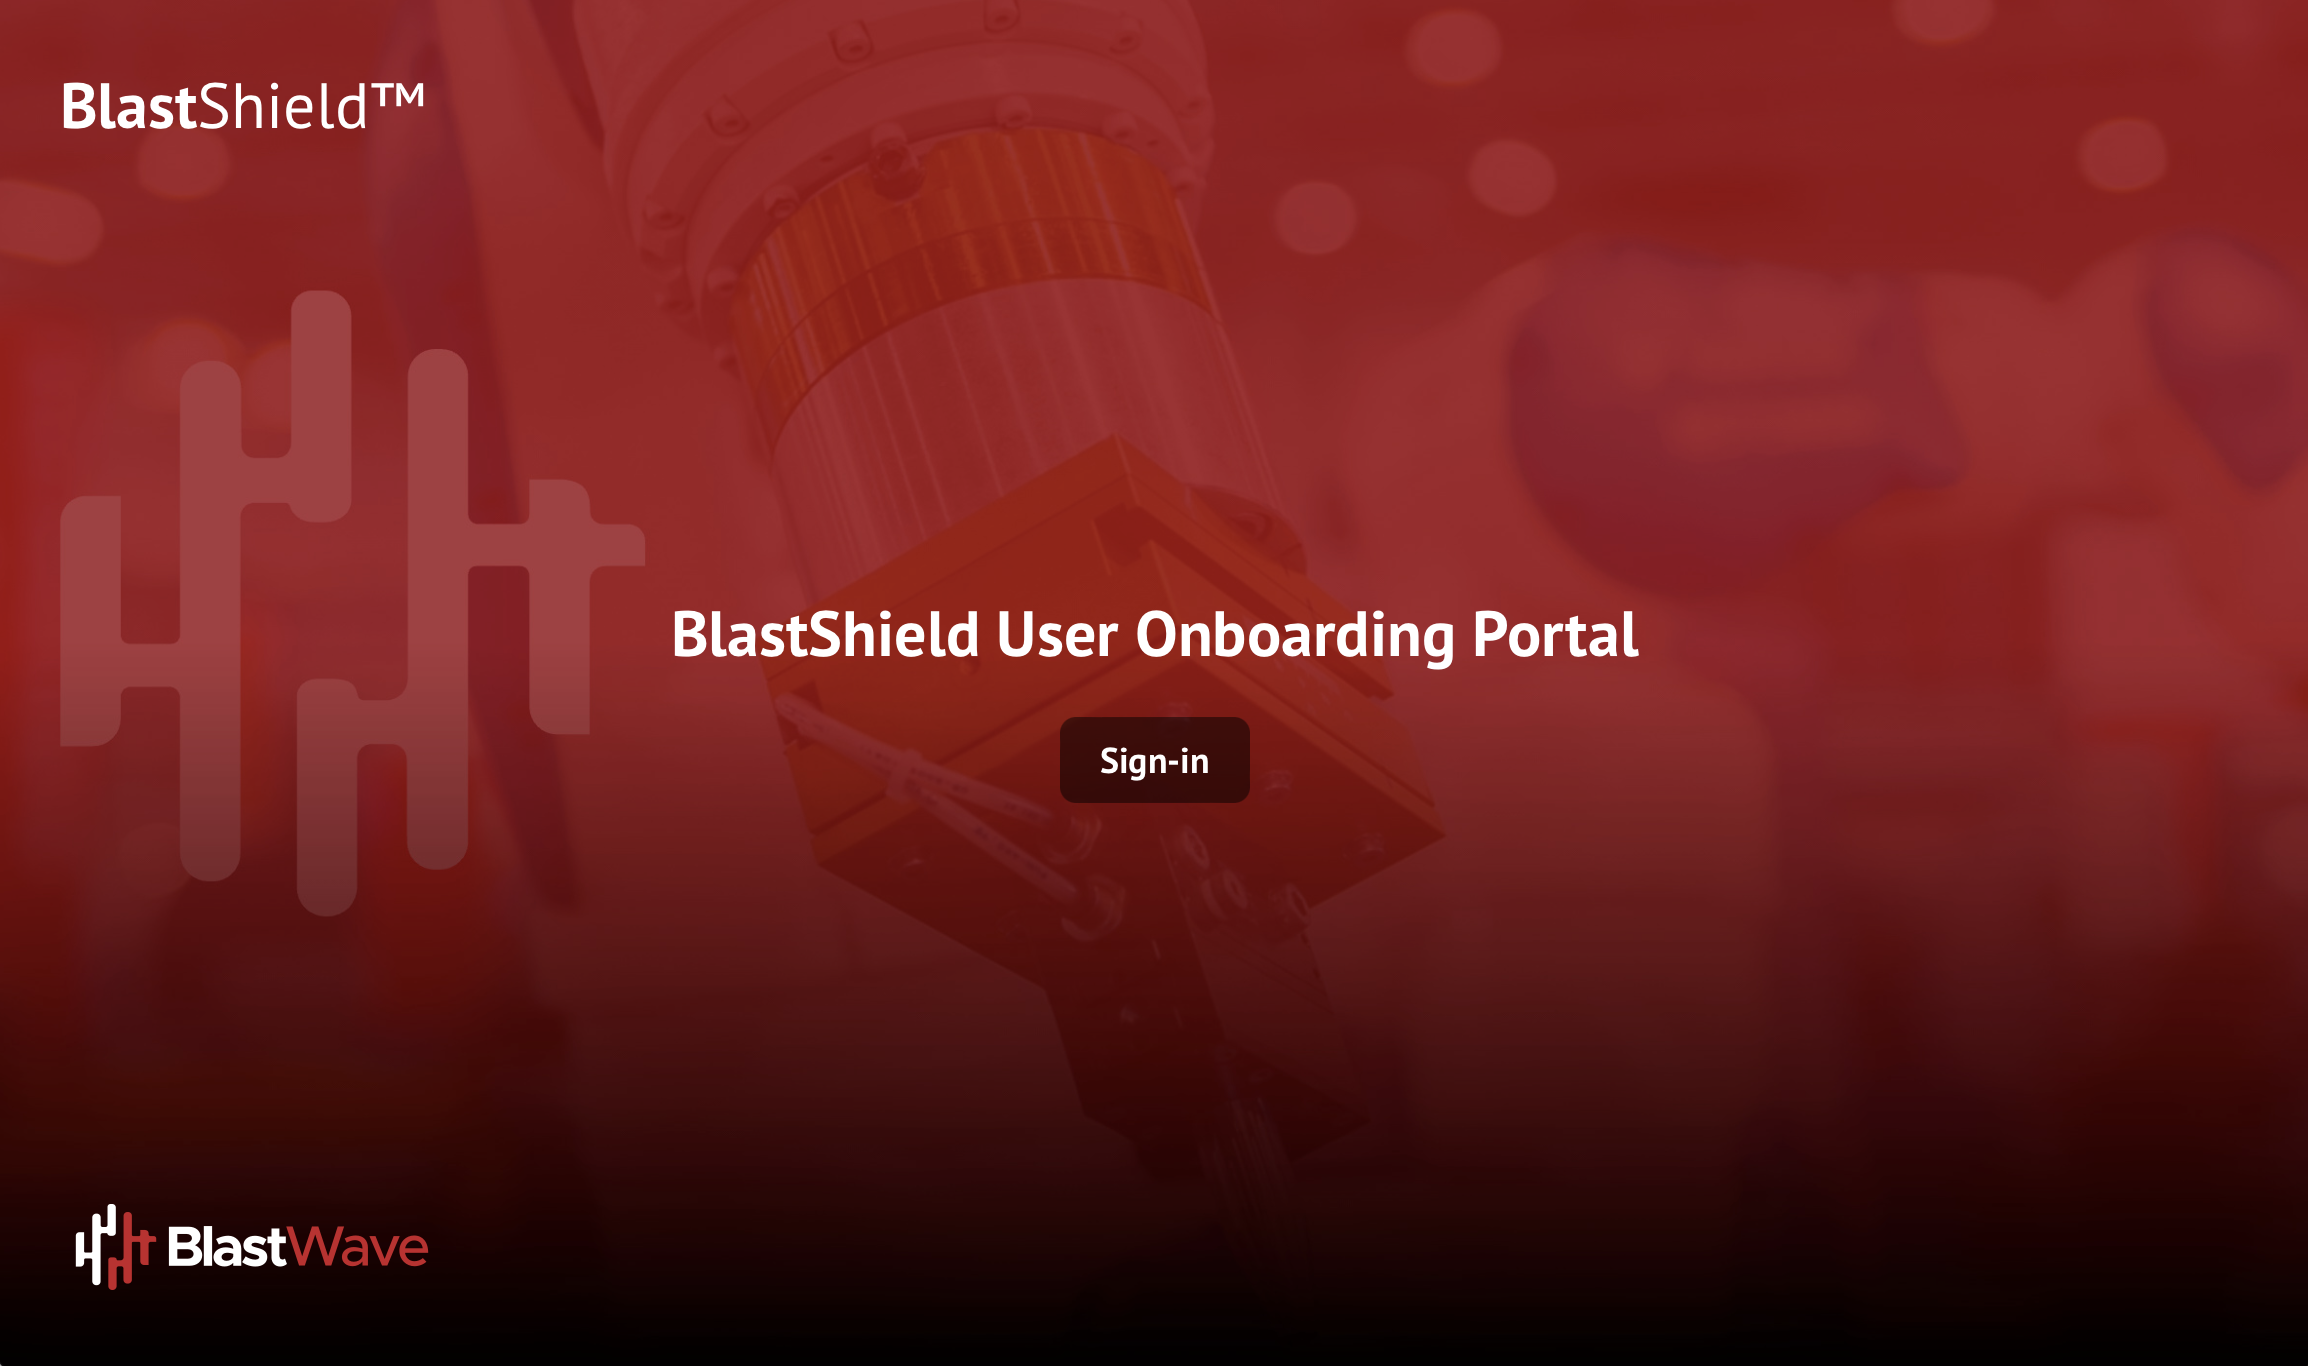
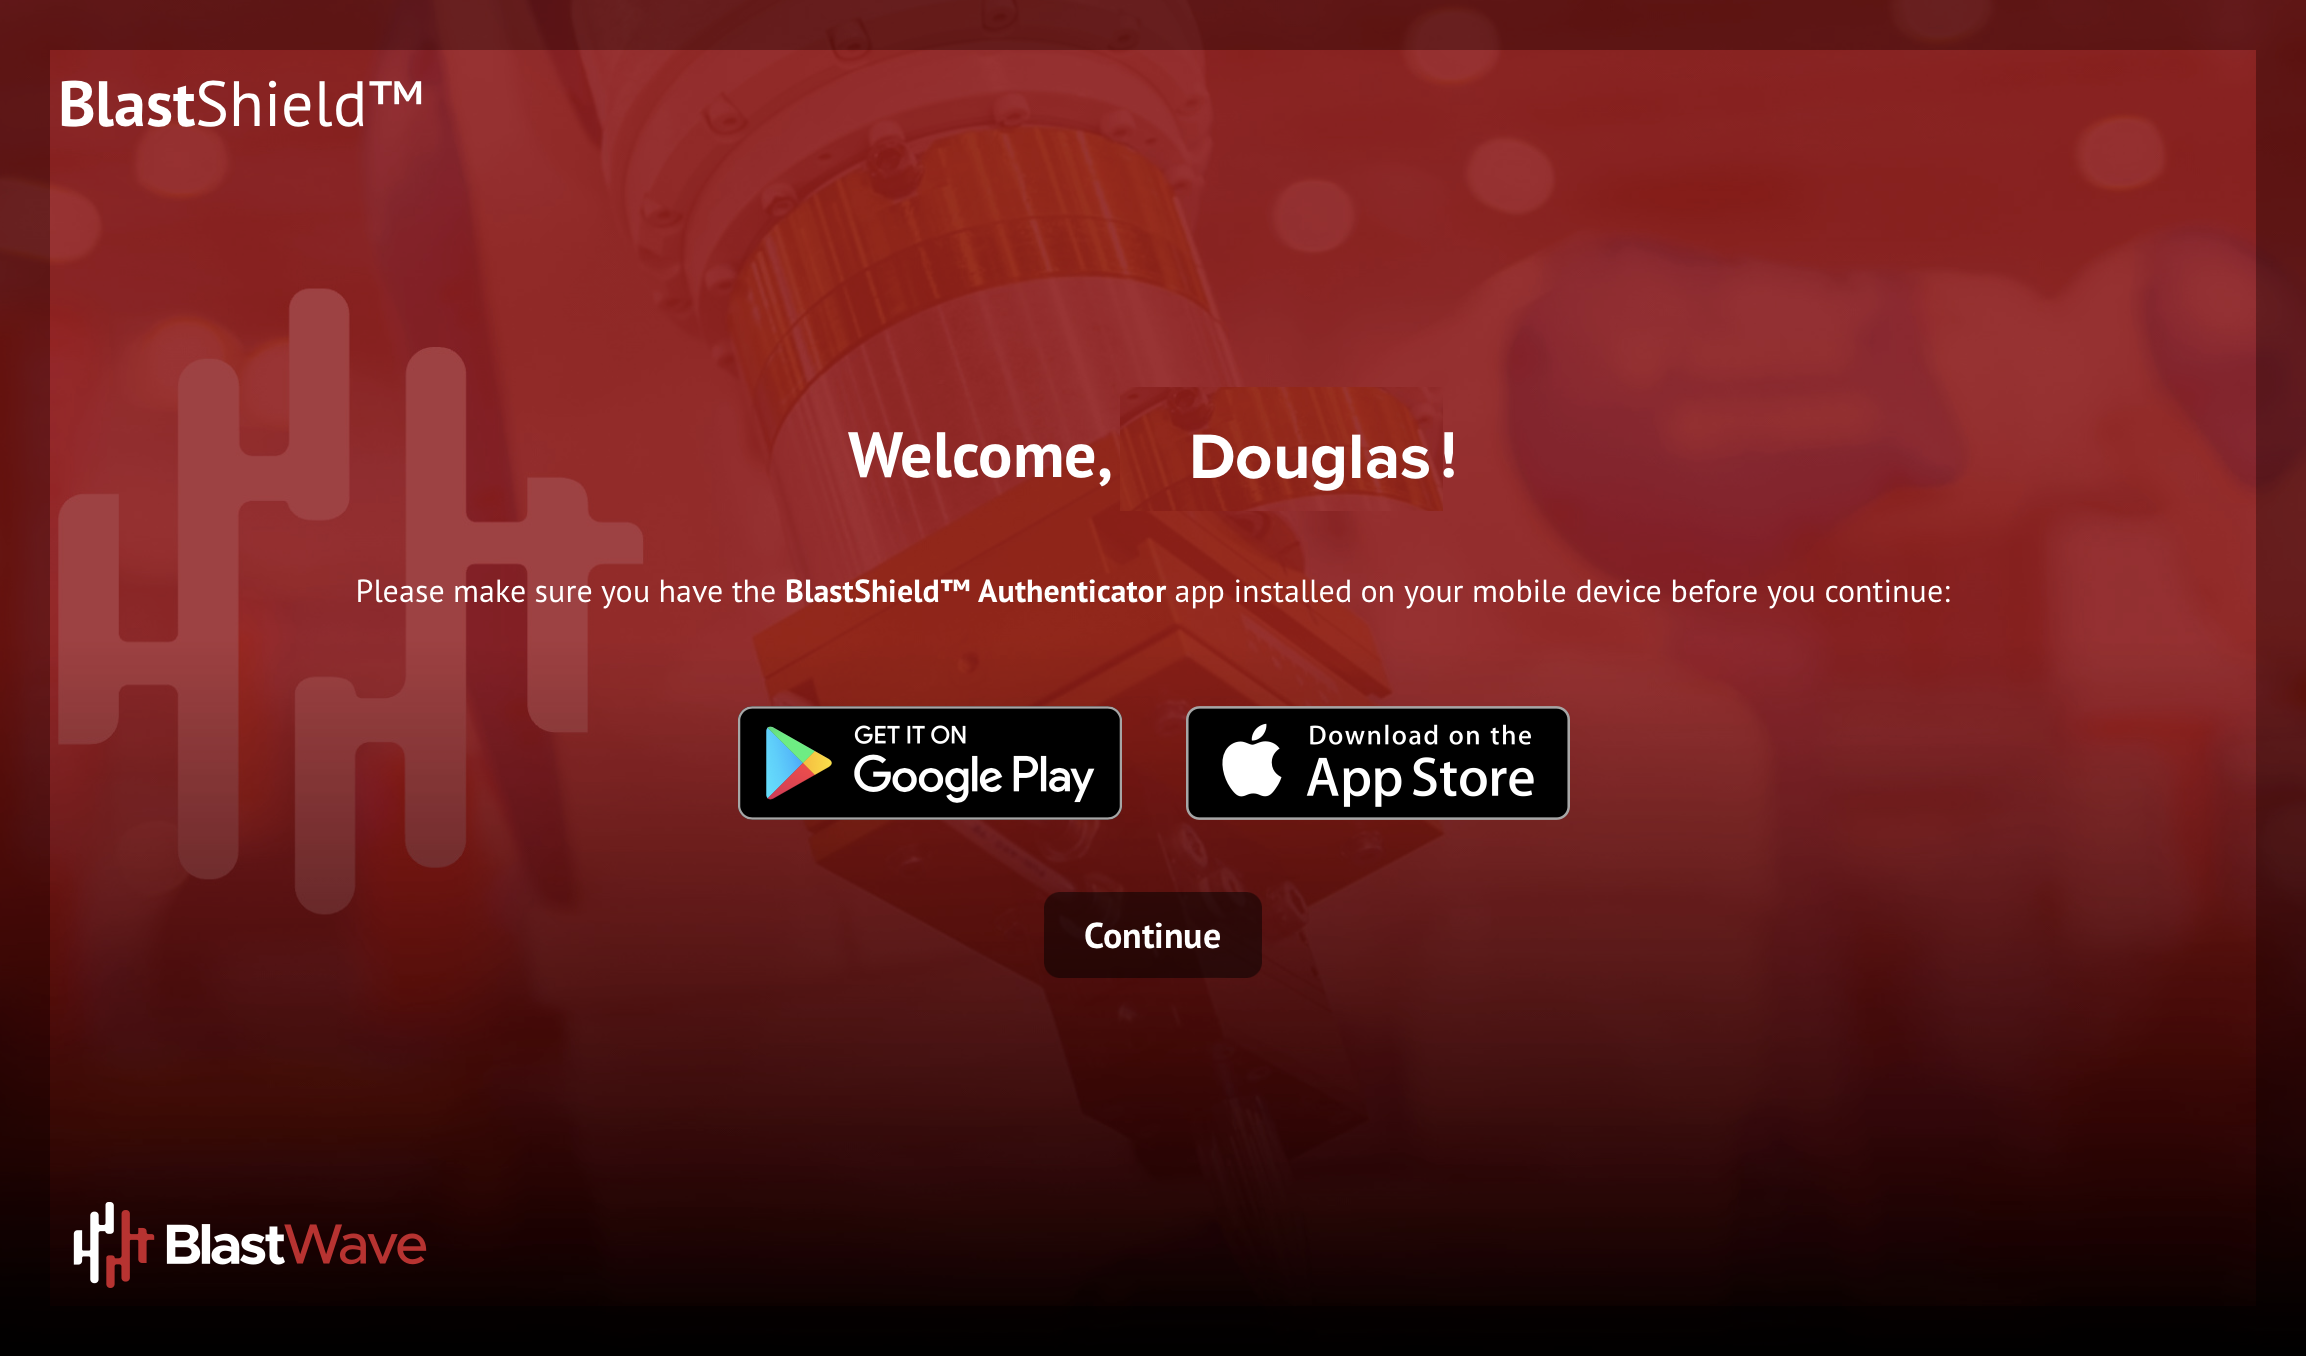
Click on Sign in.
Then login with the regular company SSO credentials.
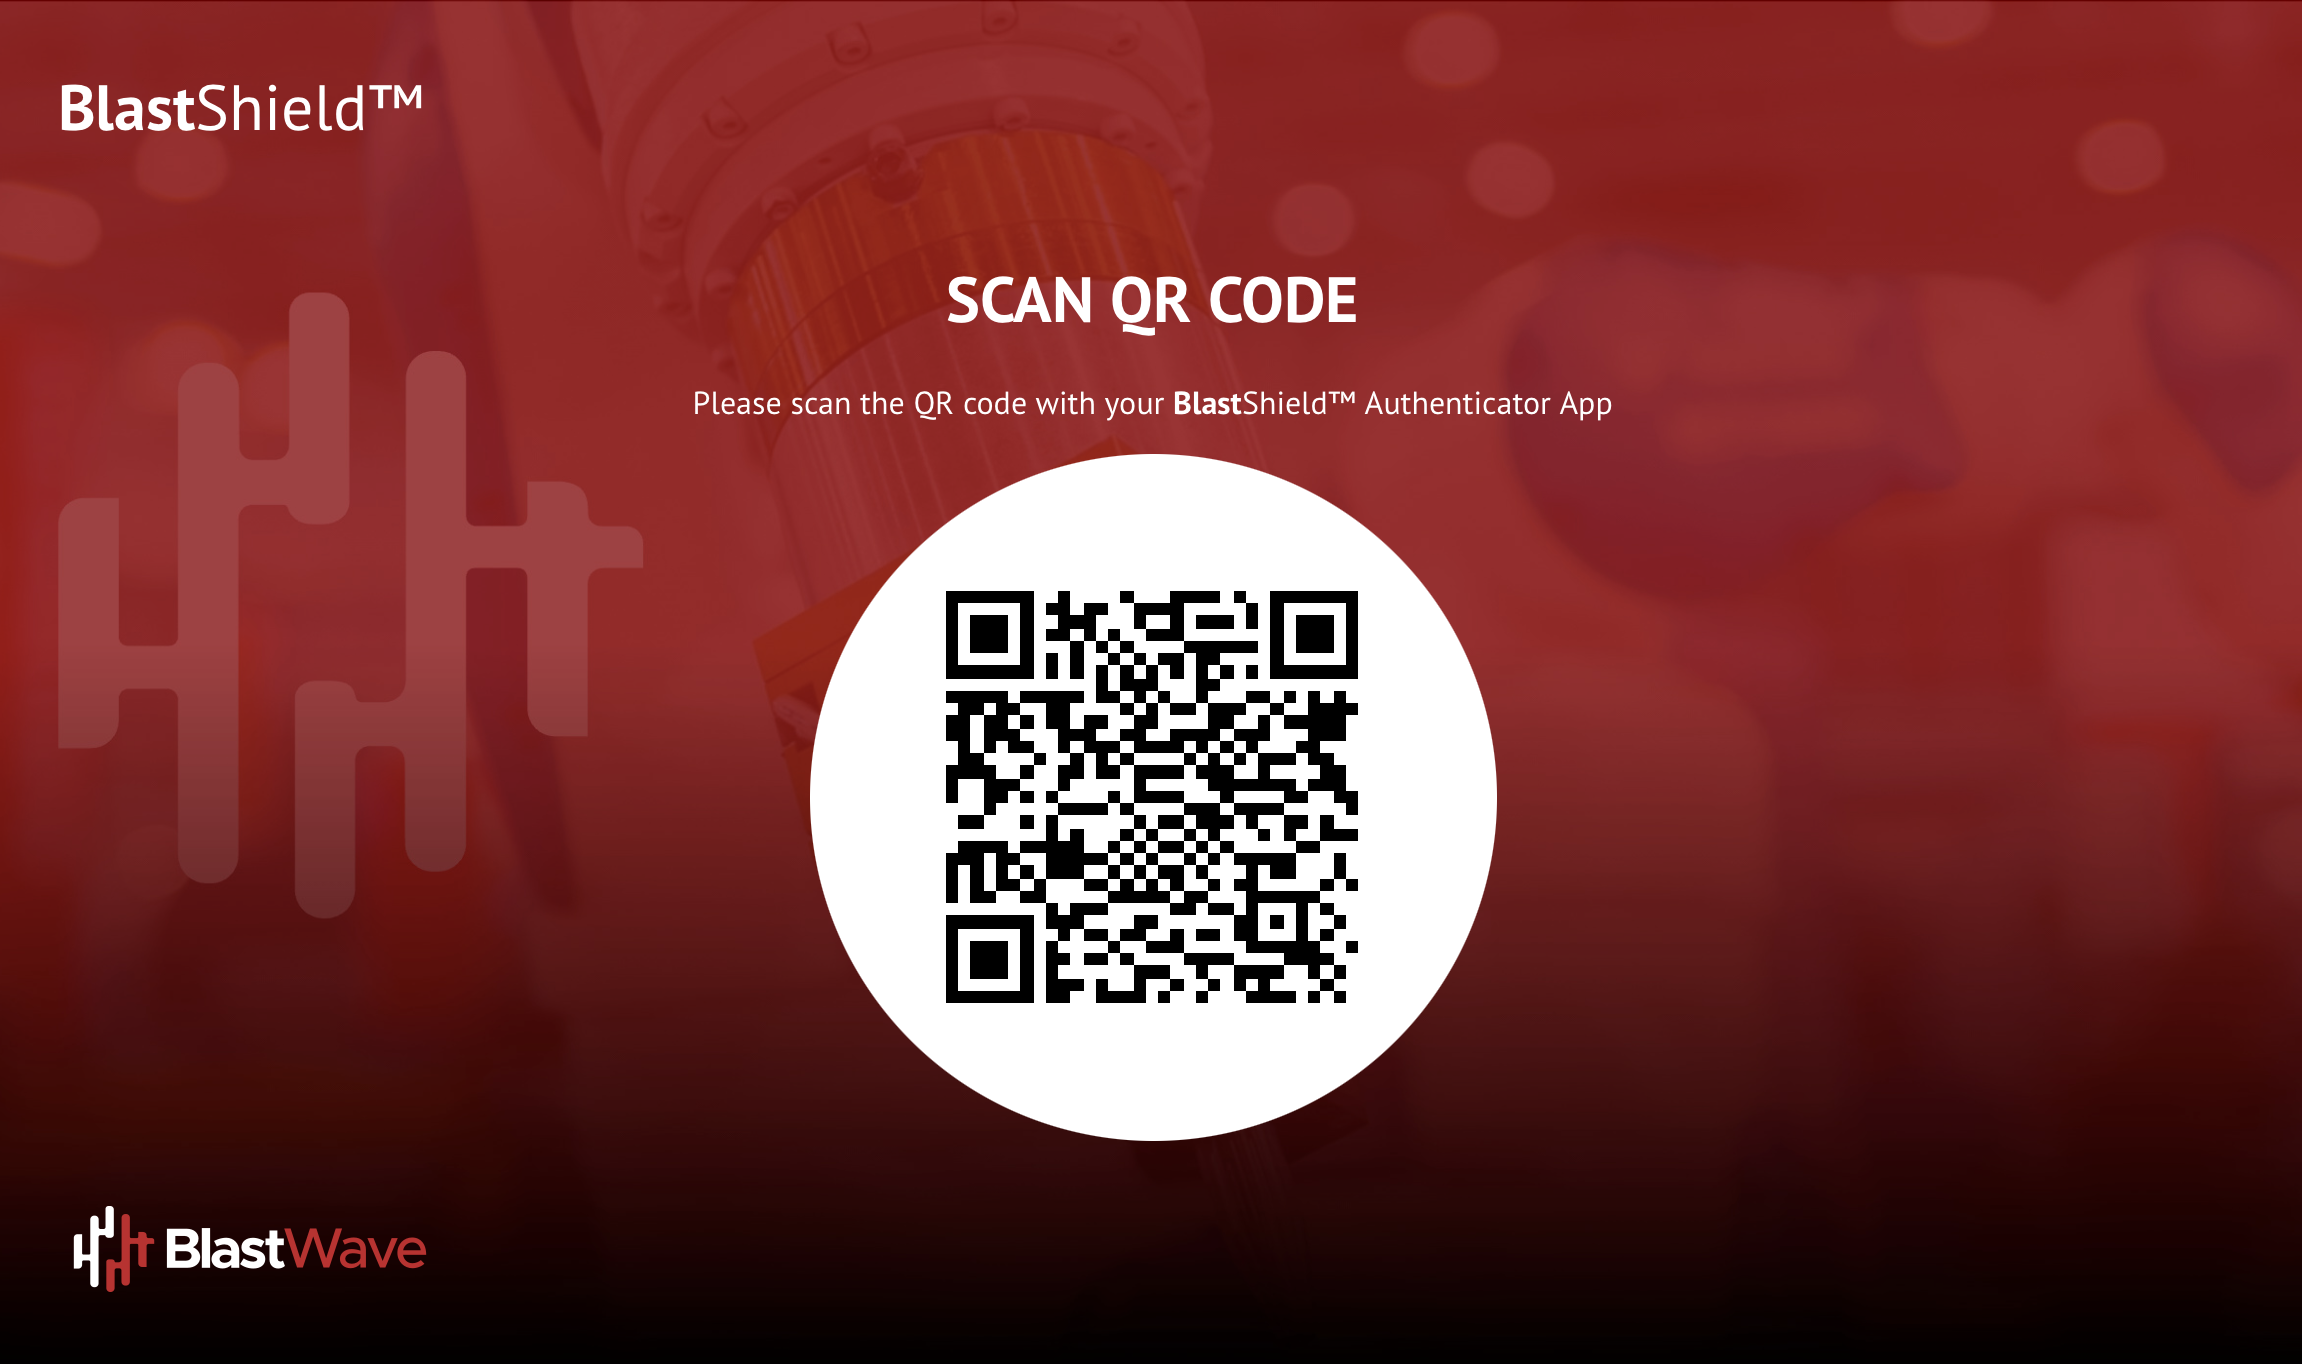
Scan the displayed QR code with the authenticator app.
Complete the biometric check when prompted.
The user will then be registered on the BlastShield™ network.
